Hey there!
I'm
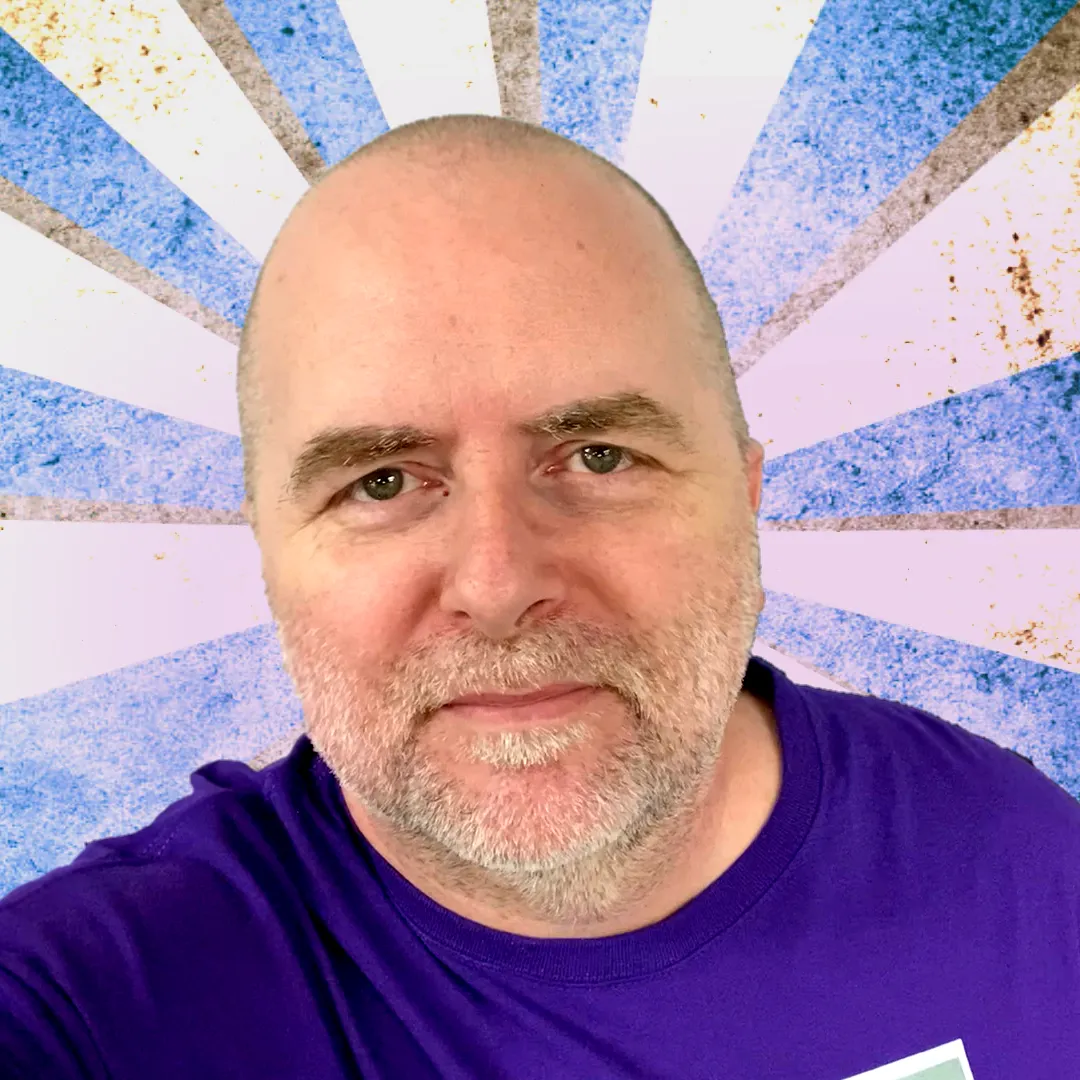
Phil Rice (zsOverman)
Filmmaker / Composer
Latest Release:
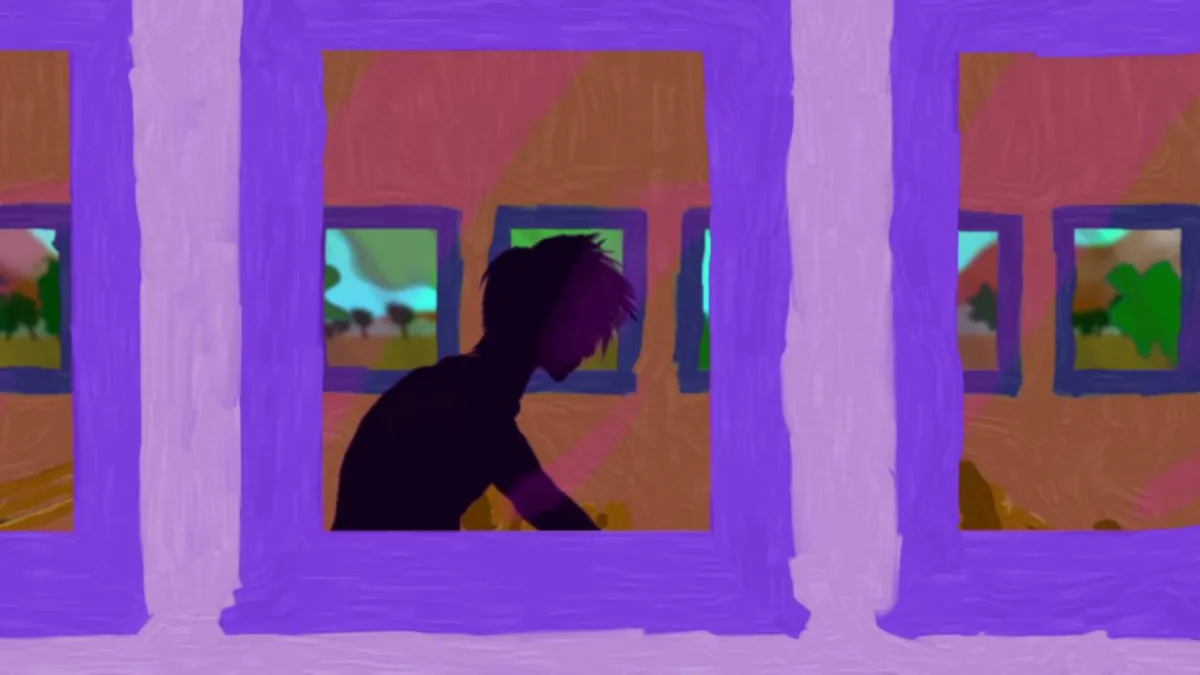
Immersed
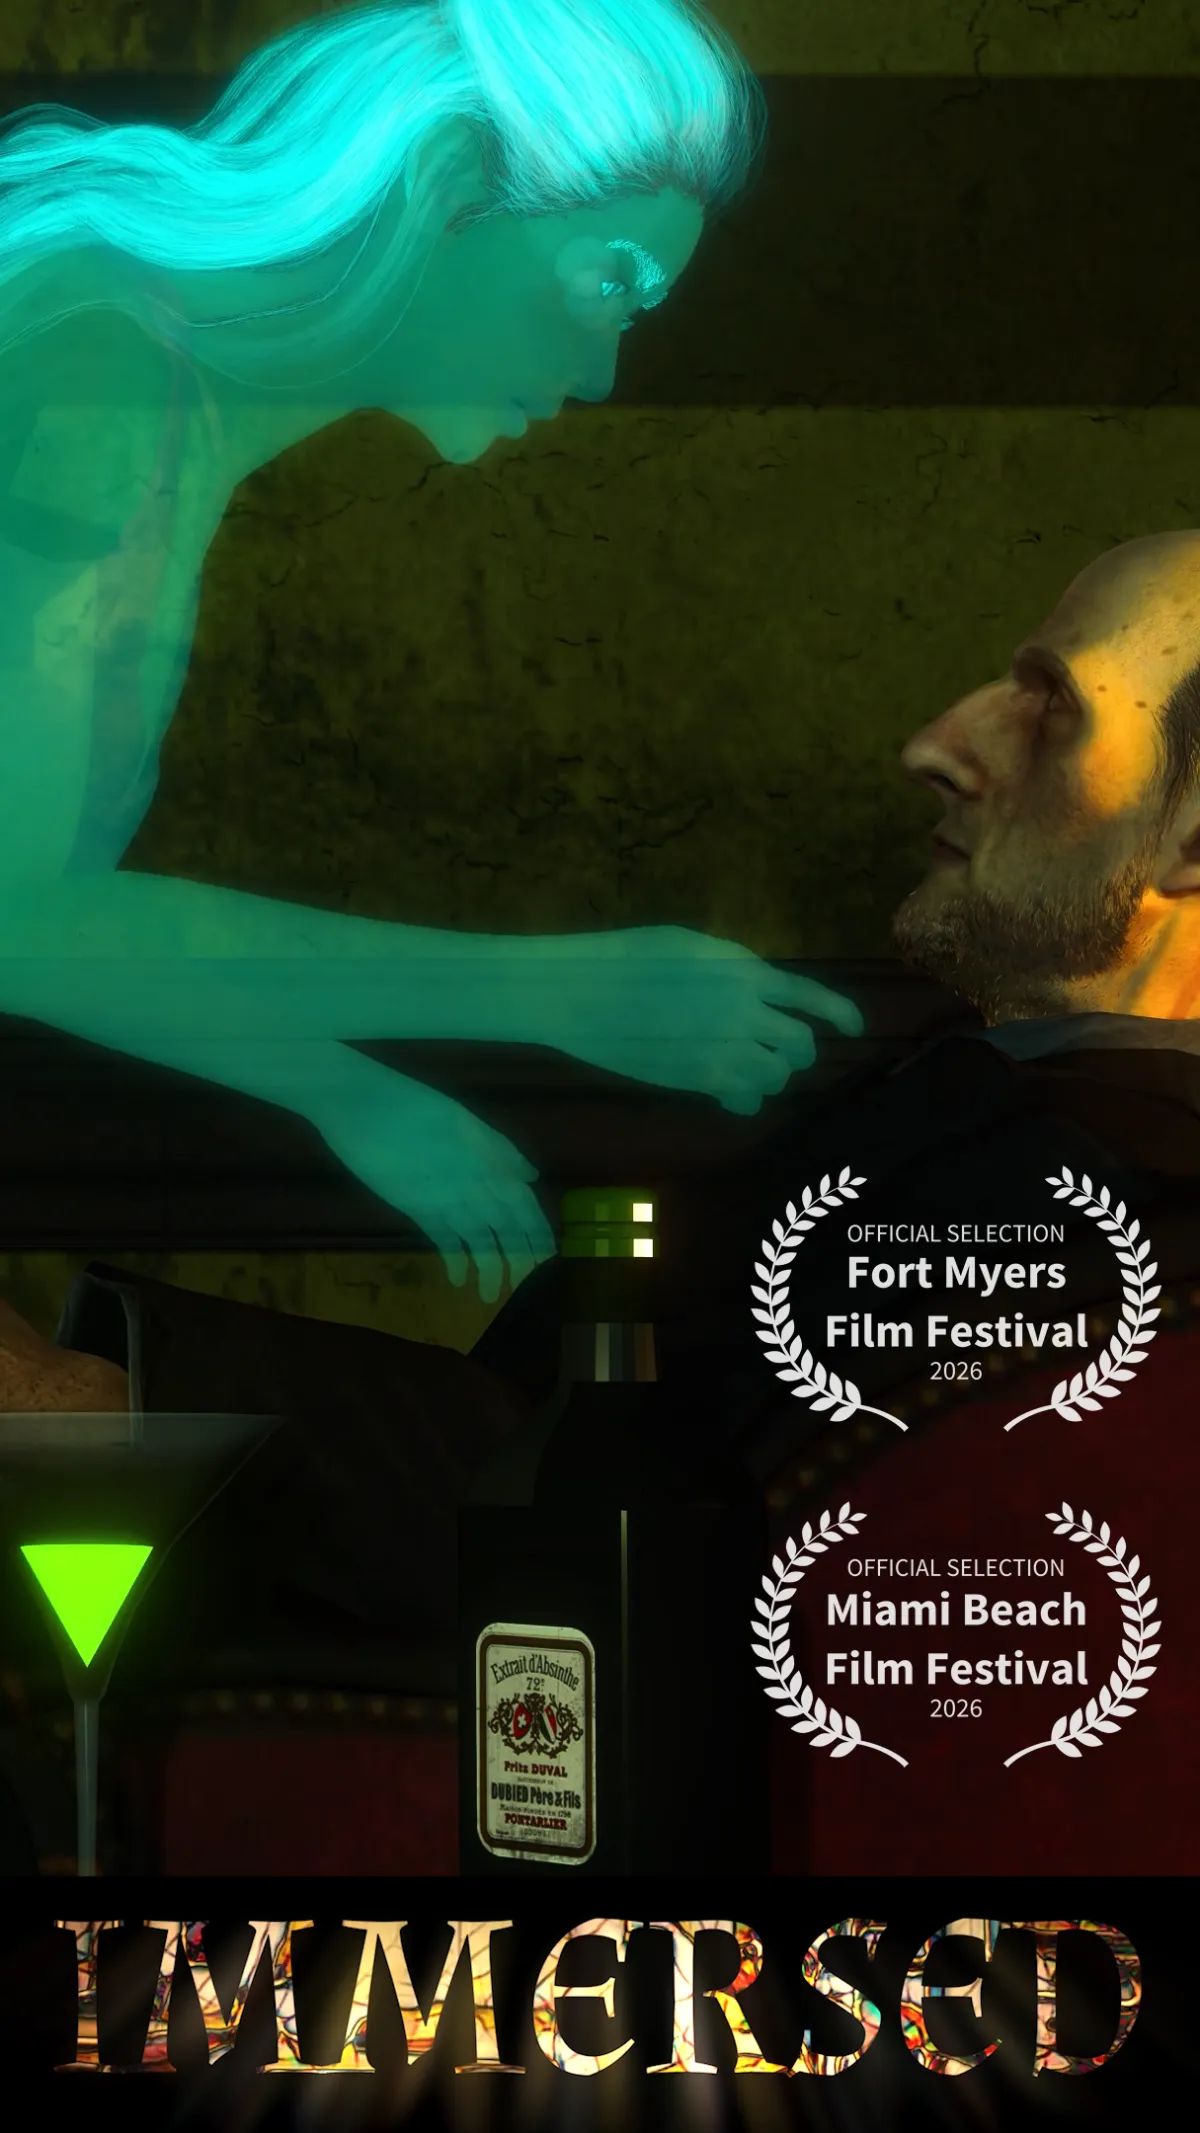
A man loses himself in a painting and awakens memories of love lost.
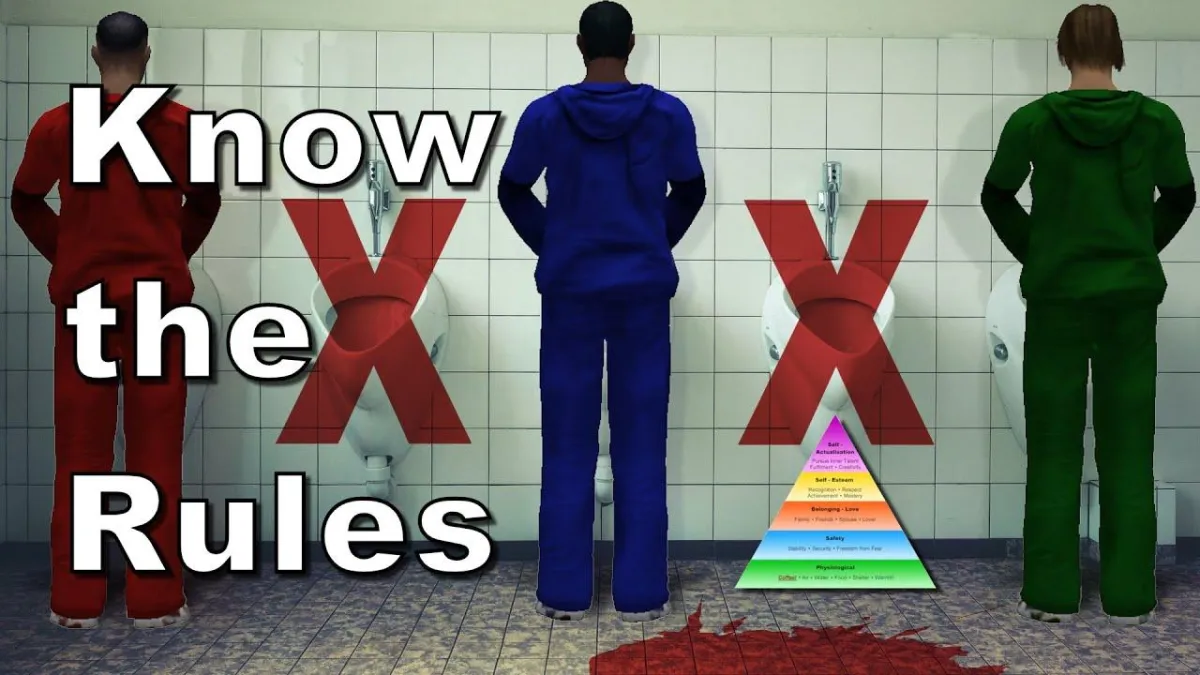
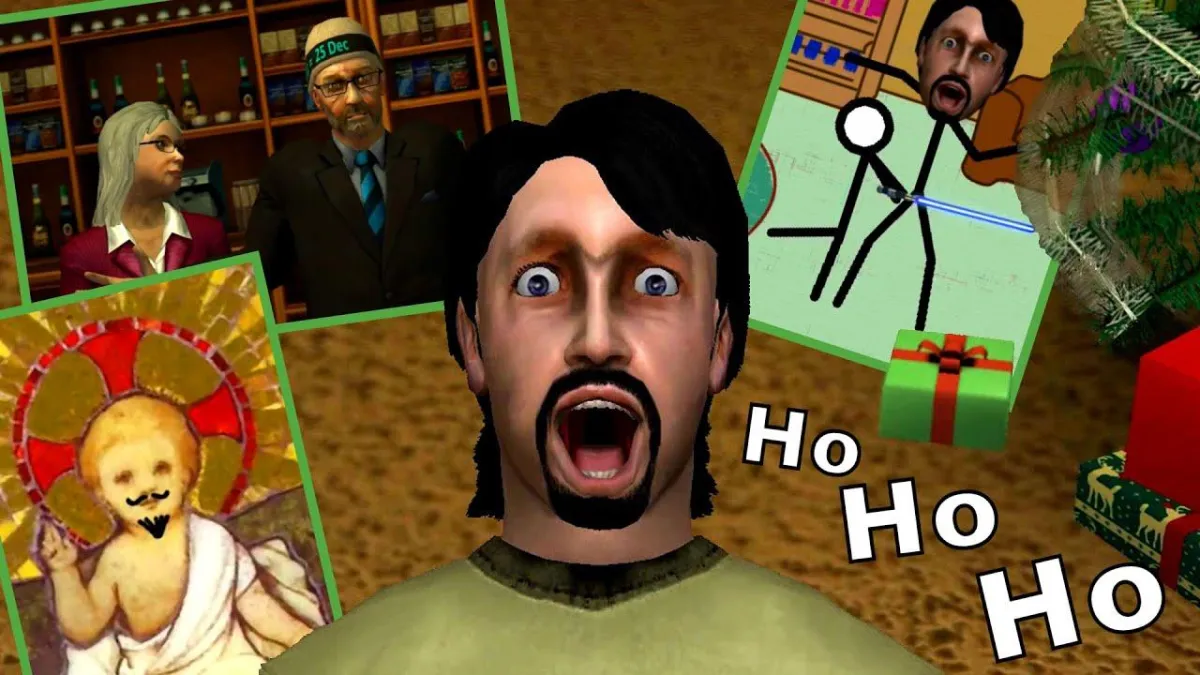
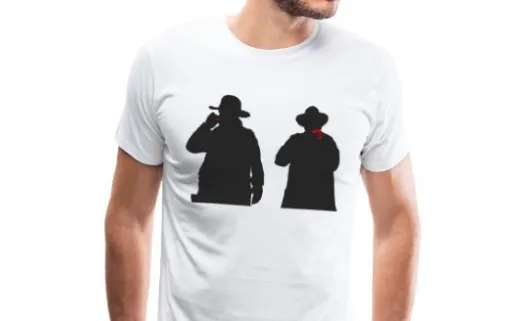
Male Restroom Etiquette
Hair to the Empire
Being Moses
Why Should Not Old Men Be Mad?

Oh Dad!
Ralph and Chuck

The Cuno

Bigger Brain

Chuck Norris vs. 50,000 Cave Men
Bad Password

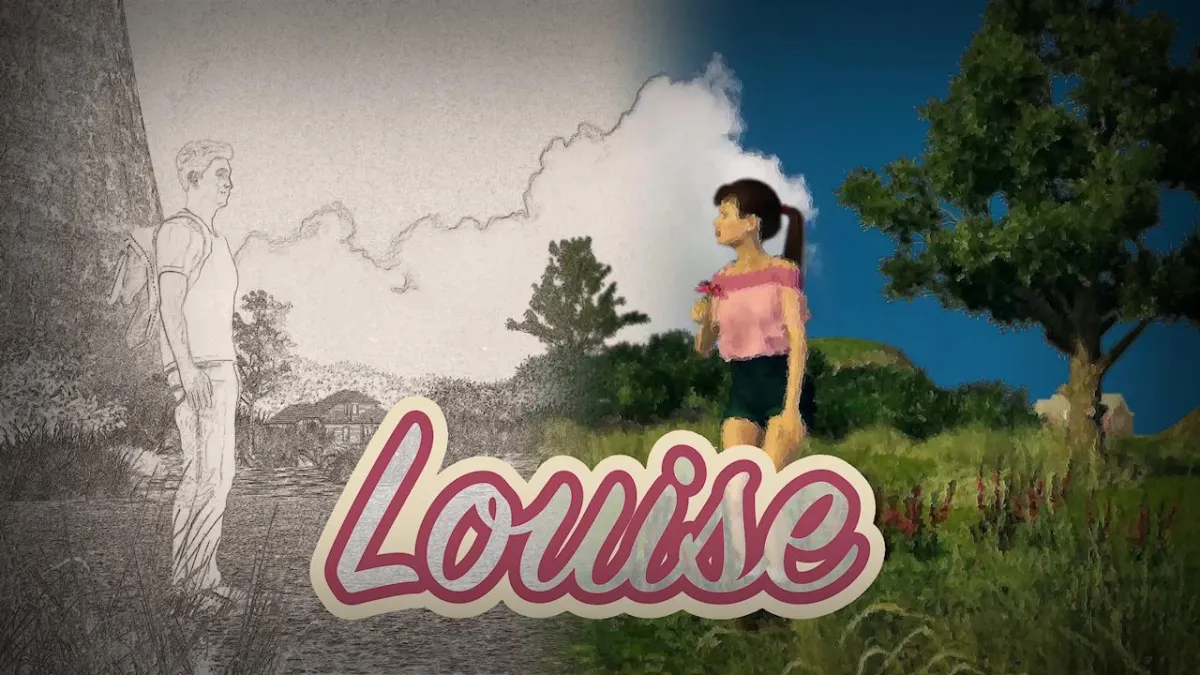
Louise
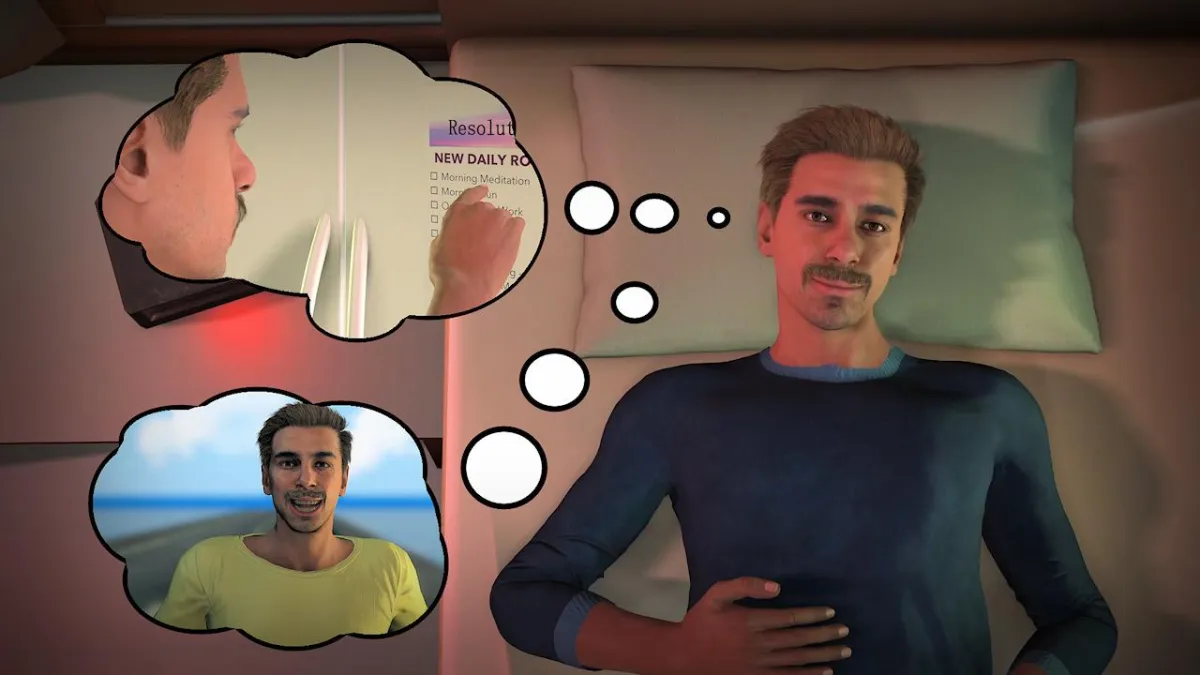
New Year's Resolutions Be Like
99 North of 34 Hundo

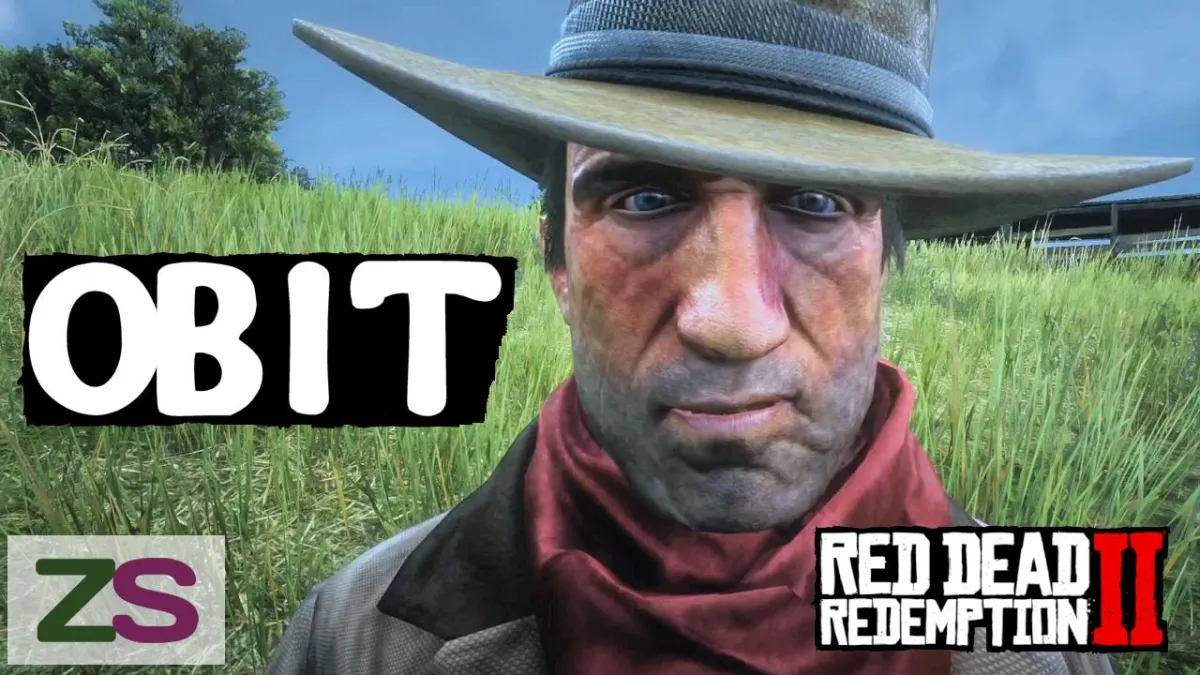
OBIT
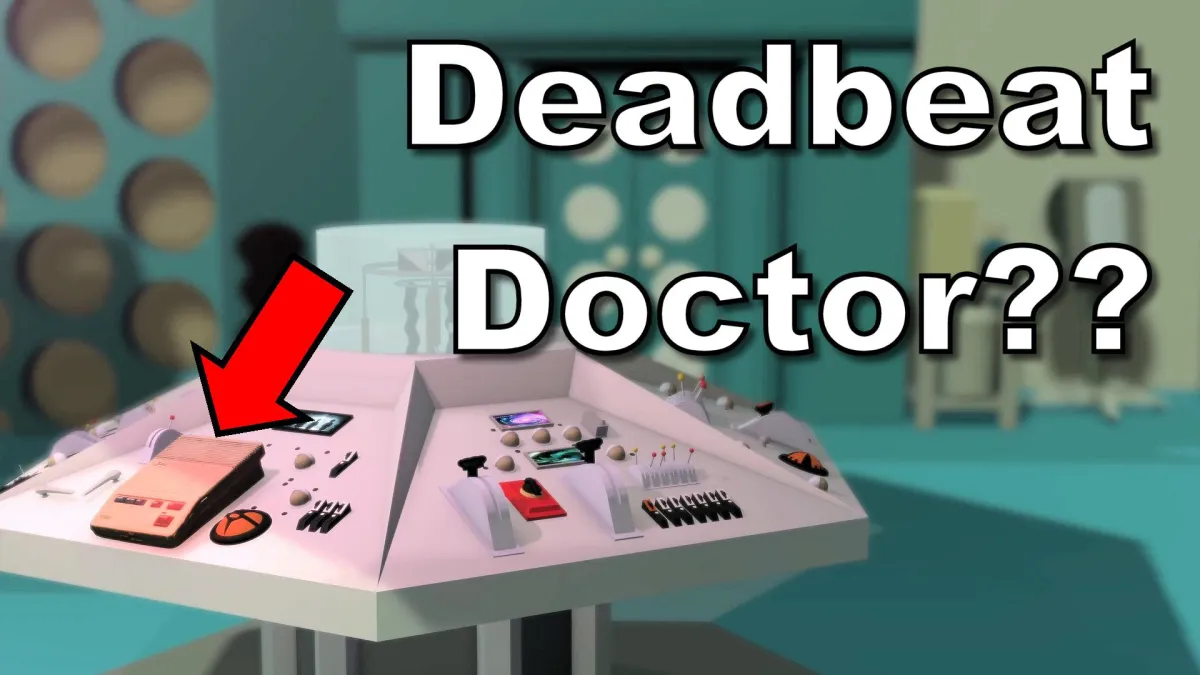
Dr. Who's Voicemail
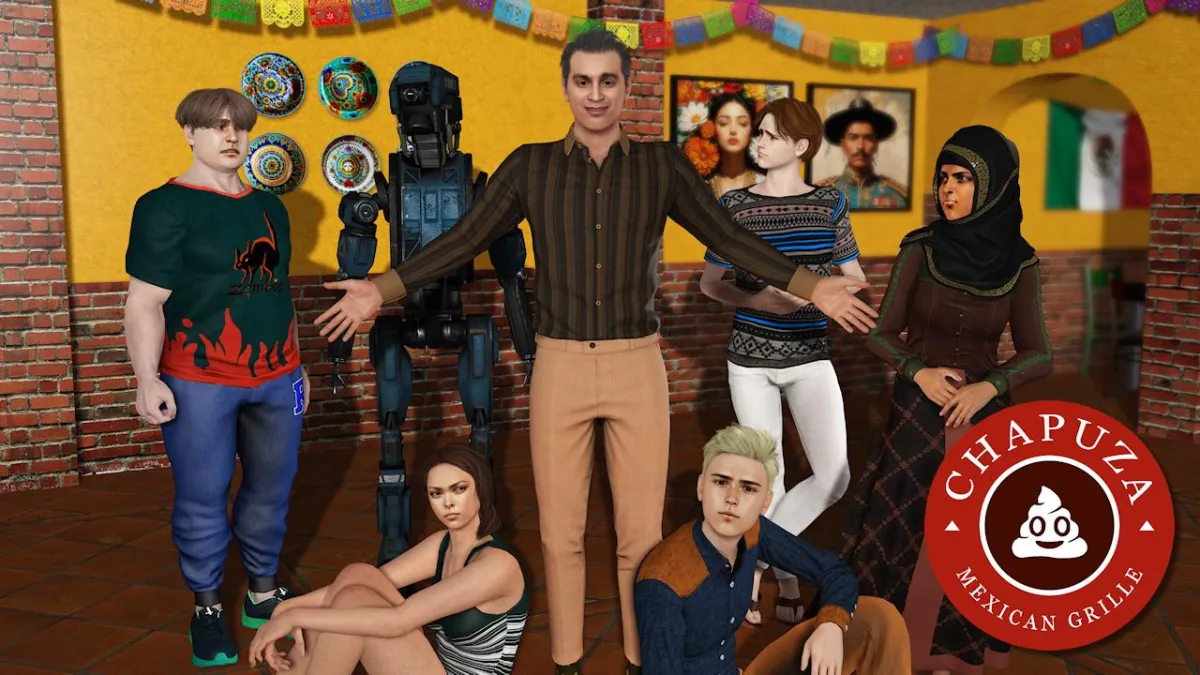
Chapuza Mexican Grille
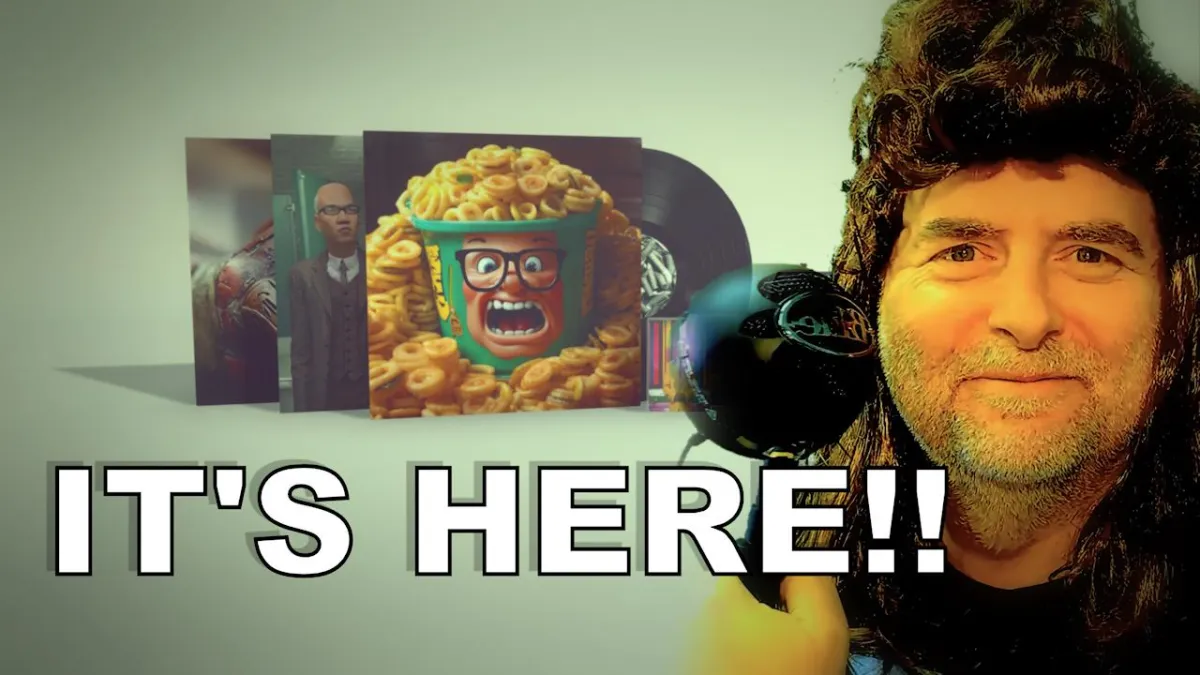
The Album You've Been Waiting For
Siri Driver

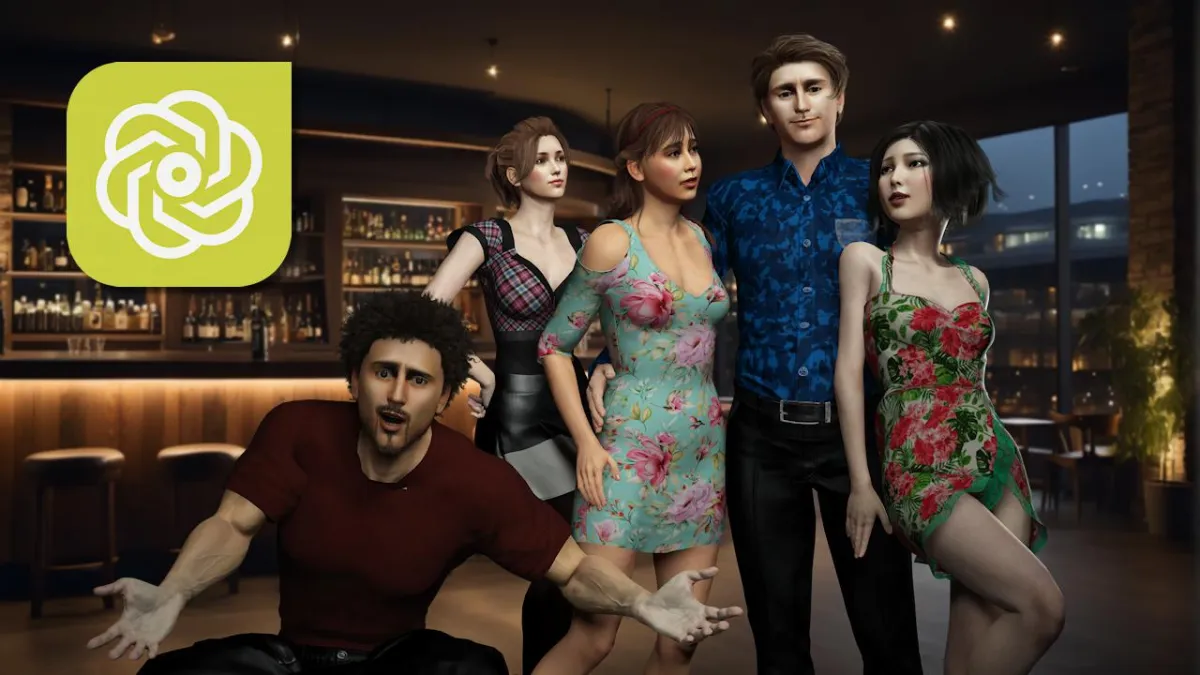
ChatPPT
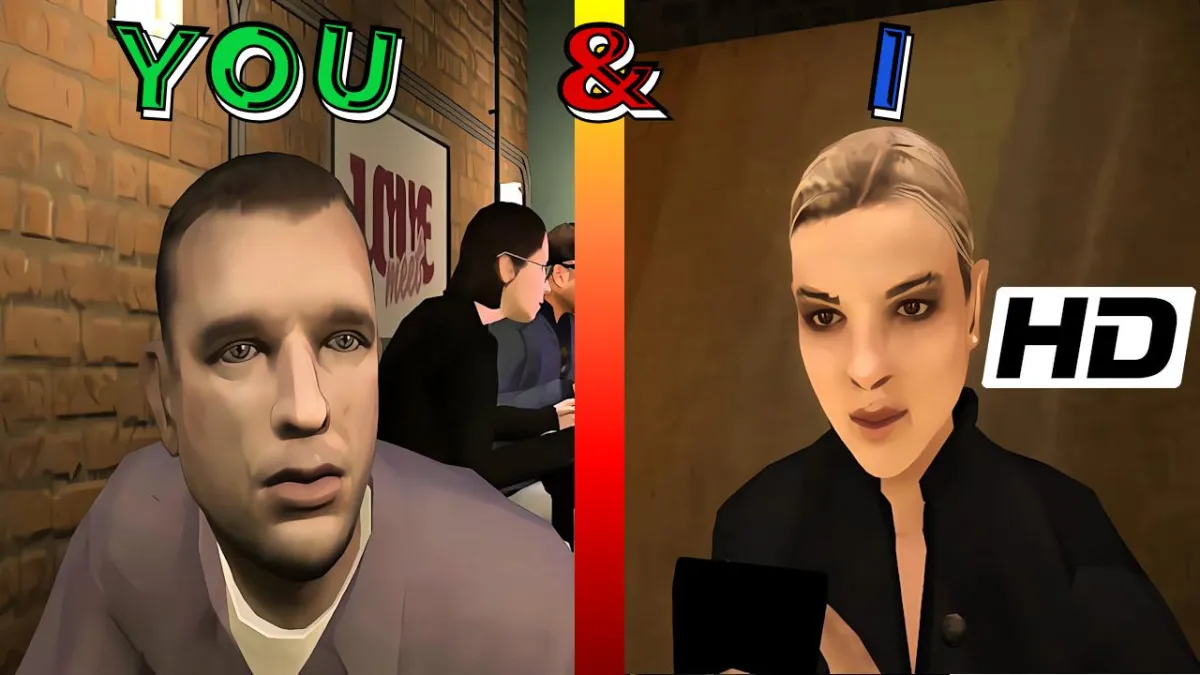
Being Single Ain't Easy
Lobachevsky

How to Treat a Lady
I Hate Tomatoes

SingSigns Volume 1
Lance the Freelance Ambulance Driver
Sweet Nothingness
Google Stooge

What I Love About Xmas
Bodysnatchers
Intervention

zsOverman's Musical Scores
Check out more on our YouTube channel
Bio
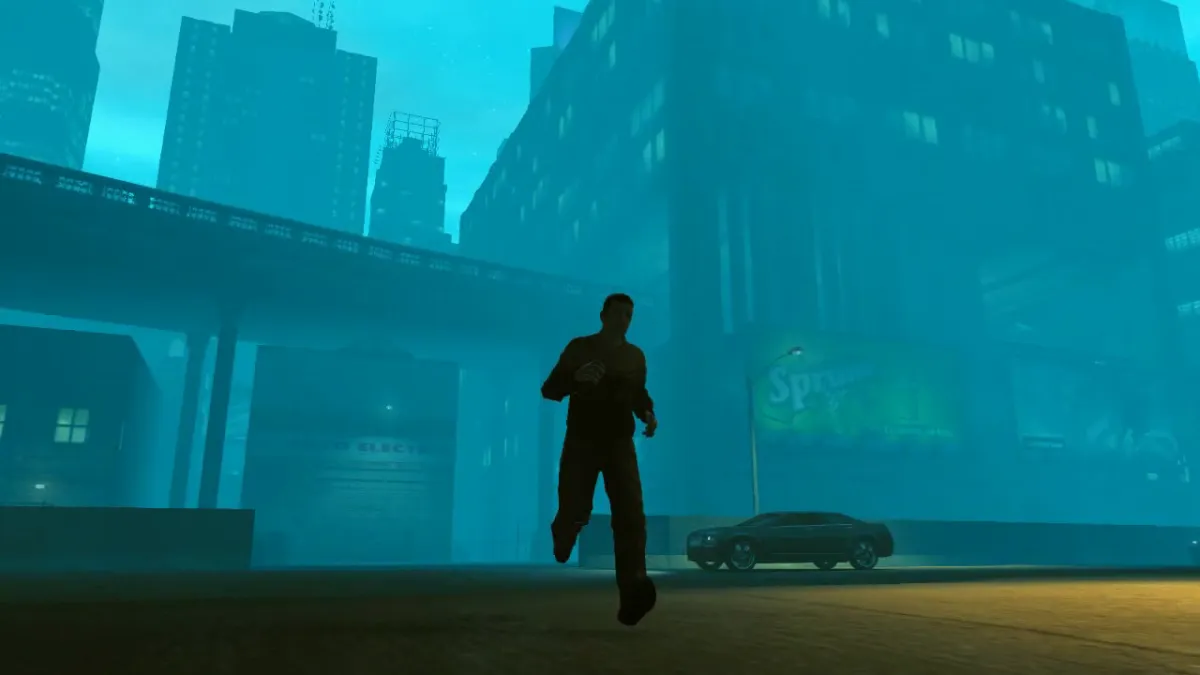
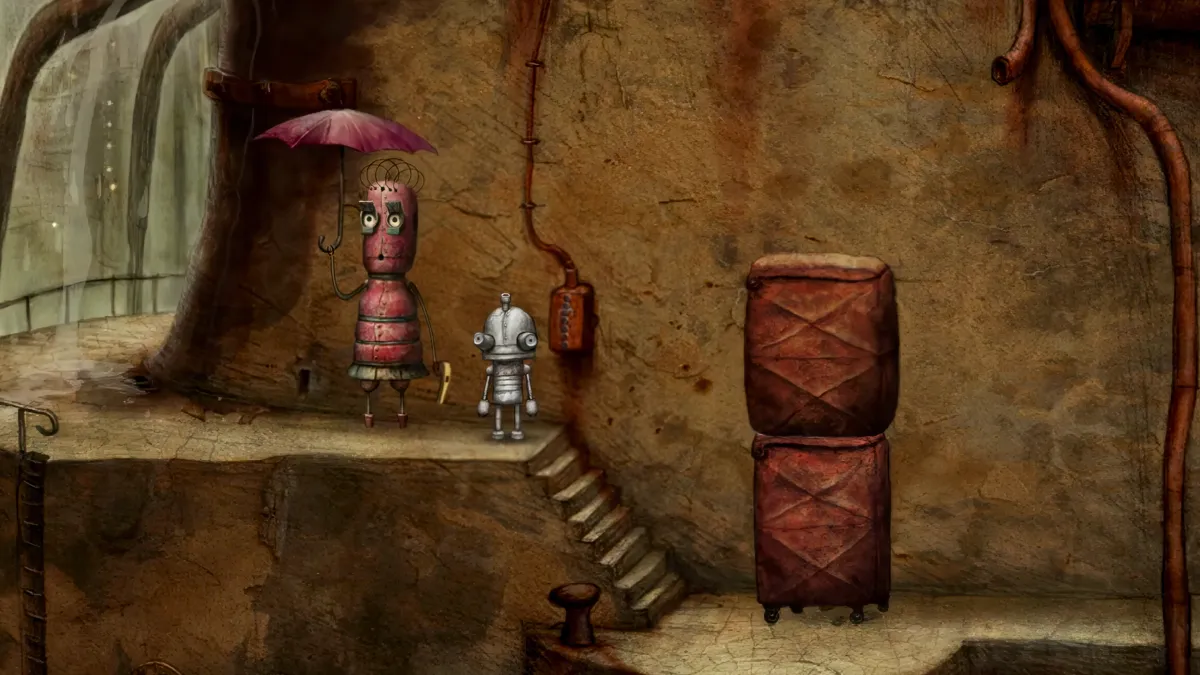
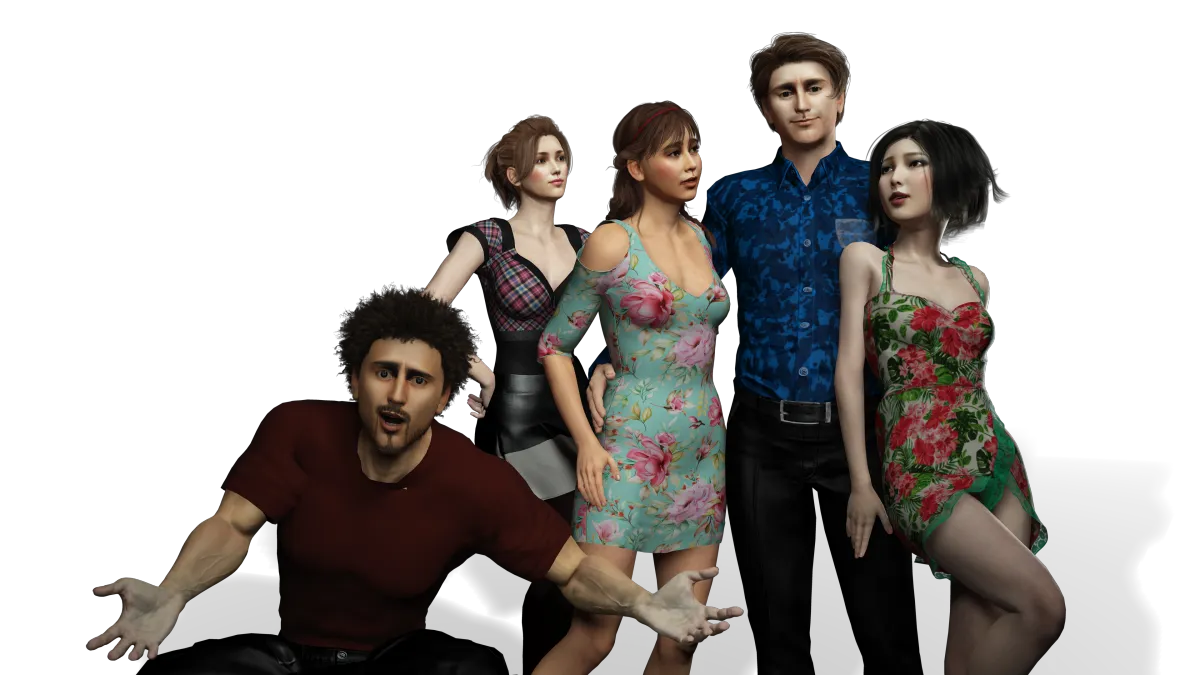
I make animated movies by repurposing and modifying video games, and using a variety of real-time animation tools, and I've been doing so since before there was a name for it ("machinima").
Between 1998 and the present, I’ve made over two hundred short films in a variety of genres and with a variety of tools, and have done sound design, musical score, and voice acting for dozens more.
My work has been featured in film festivals and exhibitions all over the world, and I have made some wonderful friends along the way.
“Male Restroom Etiquette” is my best known work, which has racked up over 6.8 million views on YouTube. It’s been used as an entertaining instructional aid in college Psychology classrooms around the globe, earned an entry in the Guinness World Records, and has been screened at over twenty film and animation festivals in ten countries.
When I’m not making films, I enjoy other creative outlets like writing, music and podcasting.
This site has a sample of some of what I think is my best or most interesting work so far.
I hope you enjoy - and spread the word!
Phil (a.k.a. zsOverman)
I make animated movies by repurposing and modifying video games, and using a variety of real-time animation tools, and I've been doing so since before there was a name for it ("machinima").
This site has a sample of some of what I think is my best or most interesting work so far.
I hope you enjoy - and spread the word!
Phil (a.k.a. zsOverman)
Shape Our Films
Exciting films are in production - more of the shorts you love, as well as longer form and feature-length productions!
You can help make that happen with your support.
Access hours of exclusive behind-the-scenes video, and take part in key production decisions which shape the future of our content.
Join us on Patreon for free, or support an independent creator for less than the price of a cup of coffee!
Copyright 2026 The Rhys Group LLC. All rights reserved.